

Forgot Windows Login Password? Here’s How to Reset It Easily

Mar 6
6
min read

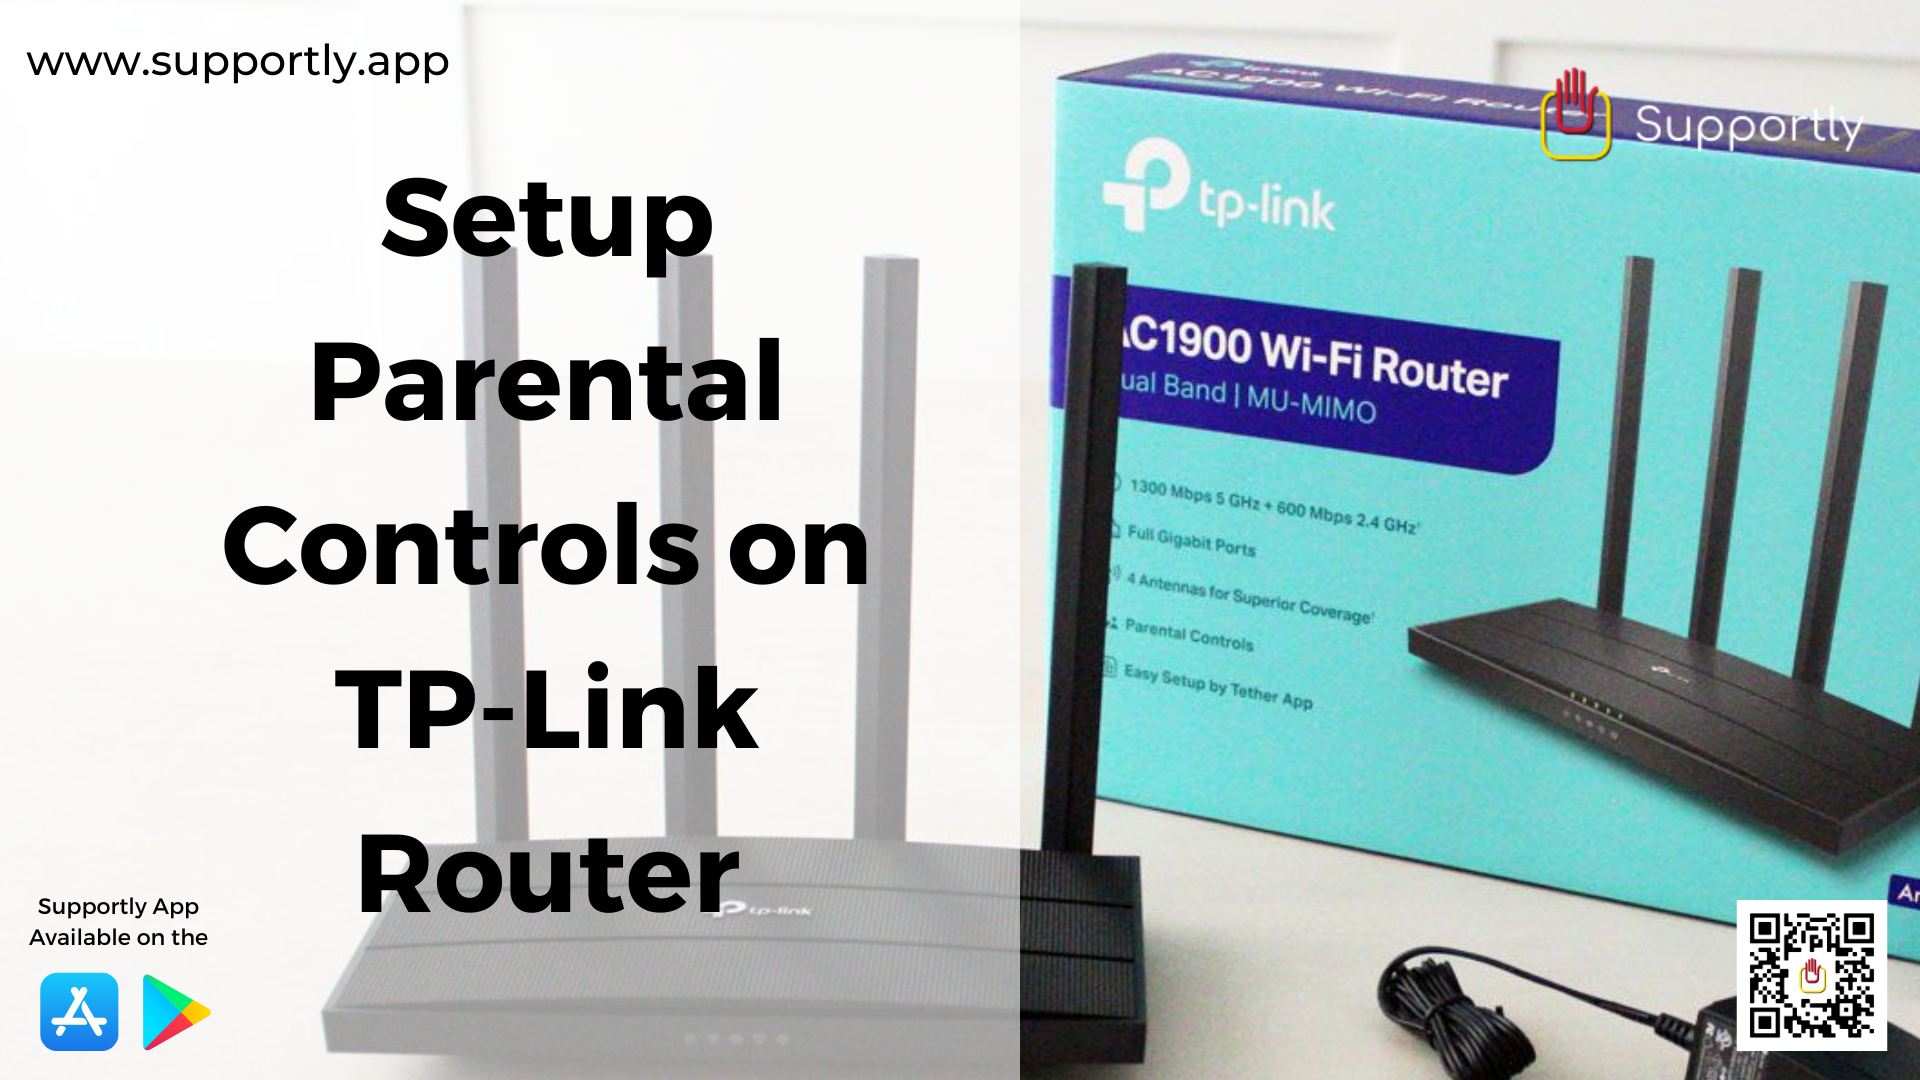
Get Instant Solution to Setup Parental Controls on TP-Link Router
Parental controls are an important way to ensure that your children are safe while they are online. TP-Link routers provide an easy way to set up parental controls, allowing you to keep a close eye on what your children are accessing and how much time they are spending online. In this article, we will discuss how to setup parental controls on your TP-Link router.
Step 1: Log in to your TP-Link router
To begin, you will need to log in to your TP-Link router. To do this, open a web browser and type in the IP address of your router. This can typically be found on the back of the router, or in the manual that came with the router. Once you have the IP address, type it into the address bar of your web browser and press enter. You will then be prompted to enter a username and password. This information should have been provided with your router.
Step 2: Navigate to the Parental Controls settings
Once you have logged in to your router, you will need to navigate to the parental controls settings. The exact location of these settings may vary depending on the model of your TP-Link router, but they can typically be found under the “Advanced” menu.
Step 3: Enable the Parental Controls
Once you have located the parental controls settings, you will need to enable them. To do this, simply select the “On” option and then click “Apply.” This will activate the parental controls on your router.
Step 4: Set up the filters
The next step is to set up the filters for the parental controls. This will allow you to determine which websites and activities your children are able to access. When setting up the filters, you will need to decide which categories you want to block. Some common categories to block include violence, gambling, pornography, drugs, and adult content. Once you have chosen the categories you want to block, you will need to apply the settings by clicking “Apply.”
Step 5: Set up a password
To ensure that your parental controls settings are not changed without your knowledge, you will need to set up a password. This password should be kept confidential, as it is the only way to access the parental controls settings. To set up the password, select the “Password” option and then enter the password you want to use. Once you have entered the password, click “Apply” to save the changes.
Step 6: Set up time limits
The final step is to set up time limits for your children’s internet usage. This will allow you to limit the amount of time your children are able to spend online. To do this, select the “Time Limits” option and then enter the desired time limit. Once you have entered the time limit, click “Apply” to save the changes.
These are the basic steps for setting up parental controls on your TP-Link router. Remember to keep your password confidential and to regularly review your settings to ensure that your children are not accessing inappropriate content. With the right parental controls in place, you can feel confident that your children are safe while they are online. Connect with the Supportly App if you require additional support.
