

Forgot Windows Login Password? Here’s How to Reset It Easily

Mar 6
6
min read

Get Instant Solution For Setup NETGEAR Router Without Modem
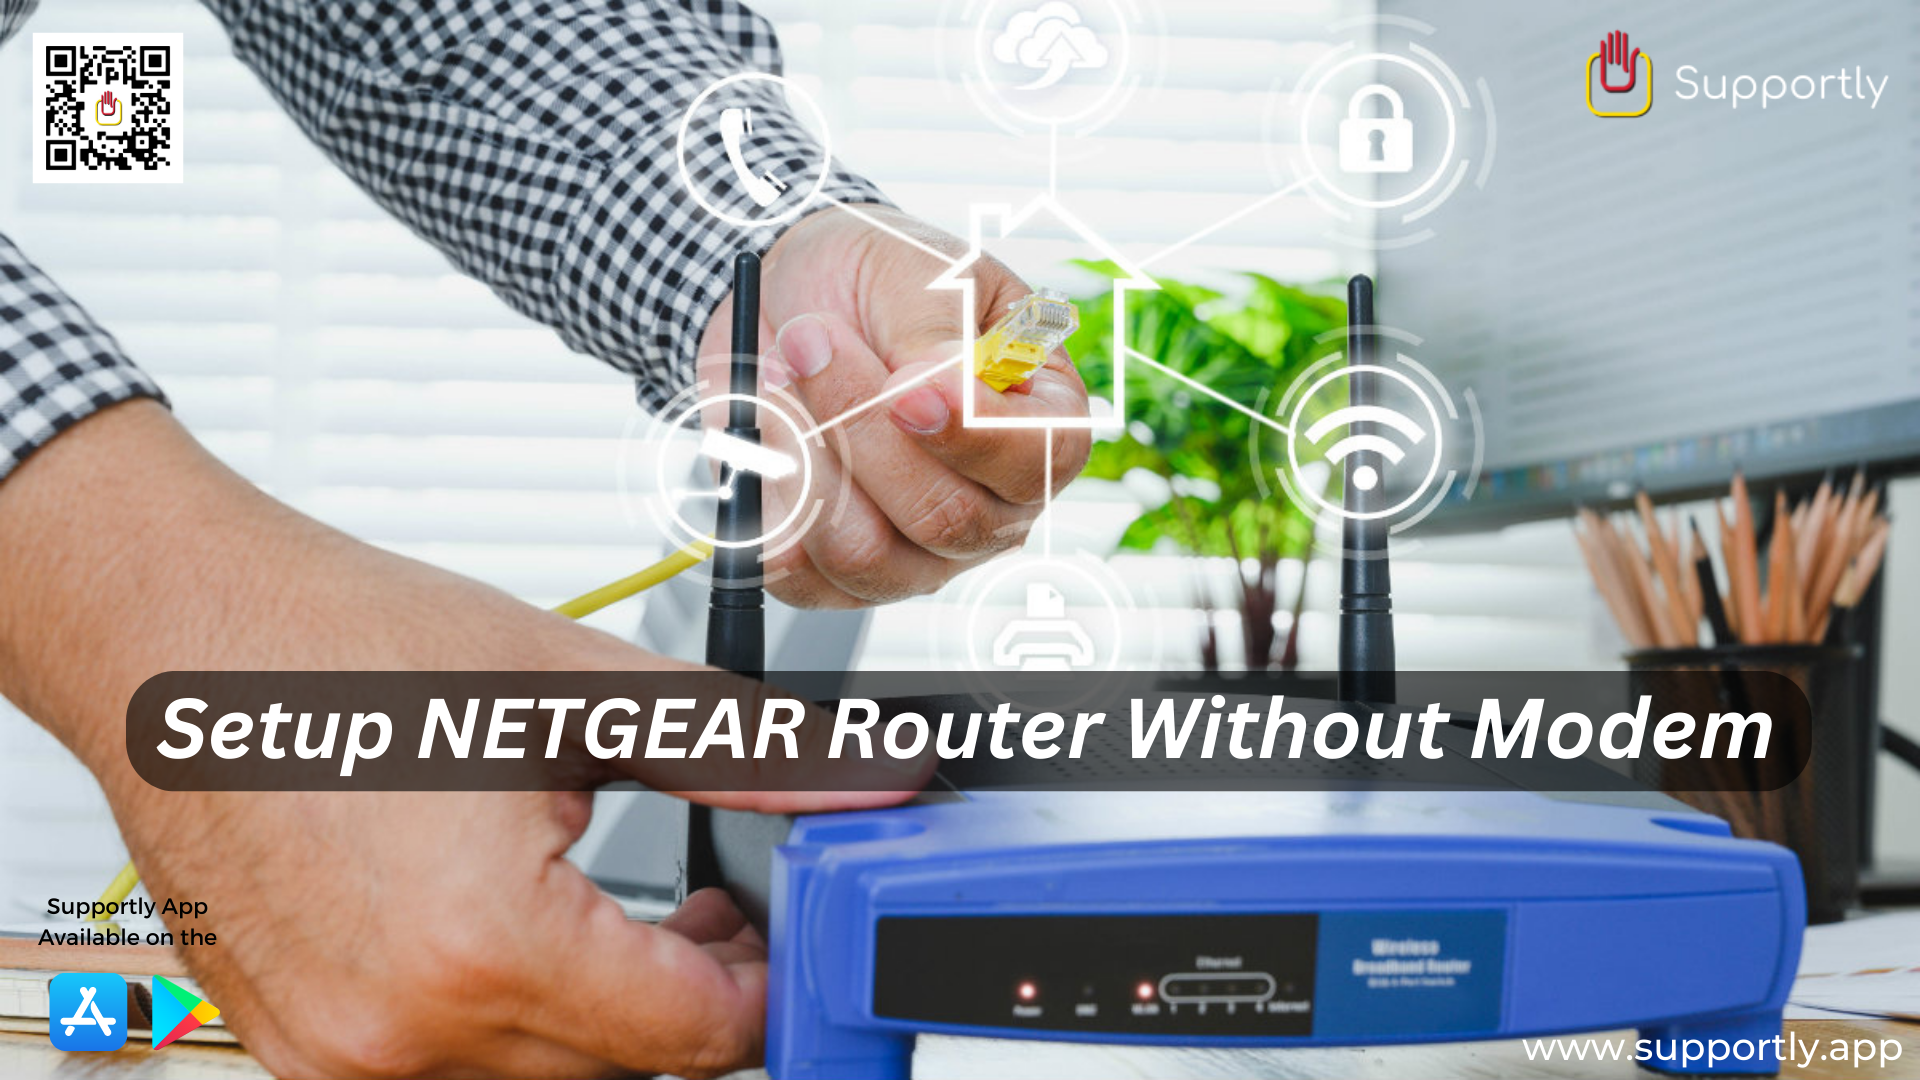
Setting up a NETGEAR router without a modem is a common challenge for home users. Many people don’t have many of the advantages afforded to them by having a router – connection sharing, greater range, better signal strength, and advanced security – and can’t afford to purchase a modem as well as the router. Fortunately, it’s relatively easy to set up a NETGEAR router without a modem – and get all the features and benefits of a router – using just a few easy steps for networking devices.
The first step in configuring your NETGEAR router without a modem is to set up the network connection. This is a straightforward process. You’ll need an Ethernet cable – either Cat 5 or Cat 6 – and a PC with an Ethernet port. Connect the cable between your PC and one of the router’s LAN Ethernet ports.
Once the router and the PC are connected, you’ll need to give your system a network IP. Open the “Control Panel” on your PC, click the “Network Connections” option, and select the “Local Area Connections” you’re using. Then click the “Properties” option. Locate the TCP/IP protocol, click the “Properties” option, select the “Obtain an IP Address Automatically” option, and click “OK”. This will activate the network connection.
Once the connection between your PC and the router is established, you need to log in to the router to make changes to its settings. Type “192.168.0.1” in the address bar of the web browser on your PC and press the “Enter” key. This will open the NETGEAR router login page. Type “admin” for the username and “password” for the password, and then press the “Enter” key.
You should now be at the router’s setup page. With the PC still connected to the router, you’ll need to change the router’s IP Address. To do this, locate the “IP Address” field in the router’s setup page, type the desired address in the text box, and click the “Save Settings” to store the changes.
Once you’ve changed the router’s IP address, you need to set up the security settings. Security is one of the main benefits of using a router, and it is important to set it up correctly to protect your network. Start by entering a new password for your router in the “Password” field, and then click the “Save Settings” button. You should also turn on the wireless security options, such as WPA2 or WPA, to ensure your network is secure.
Once you’ve successfully set up the router’s IP address and security settings, you need to save them. Click the “Save Settings” button to store the changes and close the setup page. Your NETGEAR router is now ready to use without a modem.
Setting up a NETGEAR router without a modem is a fairly easy process, and anyone can do it. All you need is an Ethernet cable, a PC with an Ethernet port, internet access, and the necessary knowledge to configure the router’s settings. With just a few steps, you’ll be ready to enjoy the benefits of a router with all the features you need to stay connected and secure. If you need more assistance then connect with our Supportly App customer support team.
