

Forgot Windows Login Password? Here’s How to Reset It Easily

Mar 6
6
min read

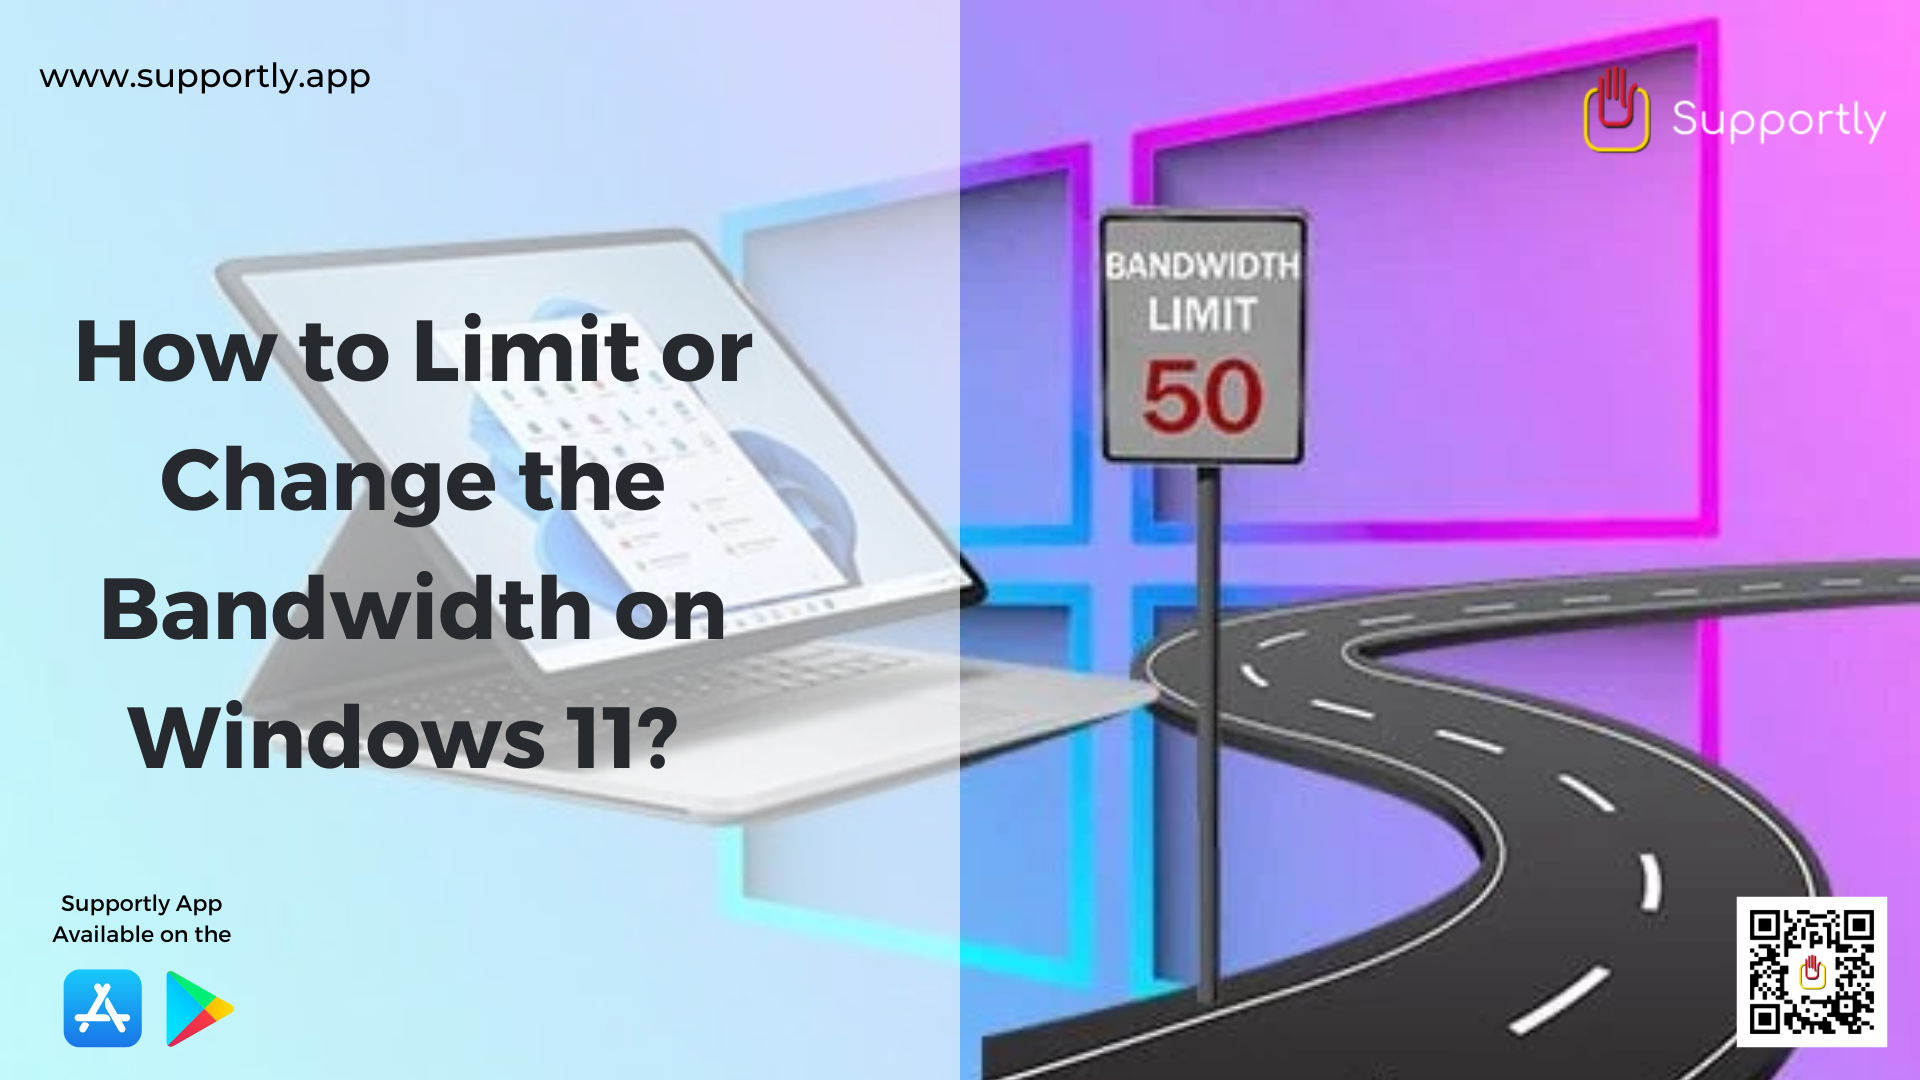
Get Immediate Solution to Change the Bandwidth on Windows 11
Windows 11 is the newest version of Microsoft's operating system, released in October 2020. It includes a number of new features and improvements, including the ability to easily limit or change the bandwidth of your network. This can be useful in a variety of situations, such as when you want to limit the amount of data a certain program can access or when you want to prioritize specific applications over others. Here's how to limit or change the bandwidth on Windows 11.
Step 1: Open the Settings App
Open the Start Menu and click on the Settings app to open it. Alternatively, you can press the Windows key + I to open the Settings app directly.
Step 2: Go to Network & Internet
Once the Settings app is open, click on the Network & Internet option. This will open a new window with several sections, including Wi-Fi, Ethernet, etc.
Step 3: Select the Network Connection
Select the network connection you want to limit or change the bandwidth for. This could be Wi-Fi, Ethernet, or another type of connection.
Step 4: Change the Bandwidth
Once you have selected the desired network connection, click on the “Change adapter settings” option. This will open a new window with all the available network connections. Right-click on the network connection you want to limit or change the bandwidth for and select “Properties” from the menu.
Step 5: Select the Network Limit
Select the “Network Limit” option from the list of options and select the “Enabled” option. Once enabled, you can set the desired upload and download speeds for the connection.
Step 6: Confirm the Changes
Once you have set the desired bandwidth limits, click on the “OK” button to confirm the changes. The new bandwidth limits should now be applied to the selected network connection.
By following these steps, you can easily limit or change the bandwidth on Windows 11. This can be useful in a variety of situations, such as when you want to limit the amount of data a certain program can access or when you want to prioritize specific applications over others. If you need more help then you can connect Supportly App.
