

Forgot Windows Login Password? Here’s How to Reset It Easily

Mar 6
6
min read

Get Instant Solution to Install HP Printer Driver On Windows 10
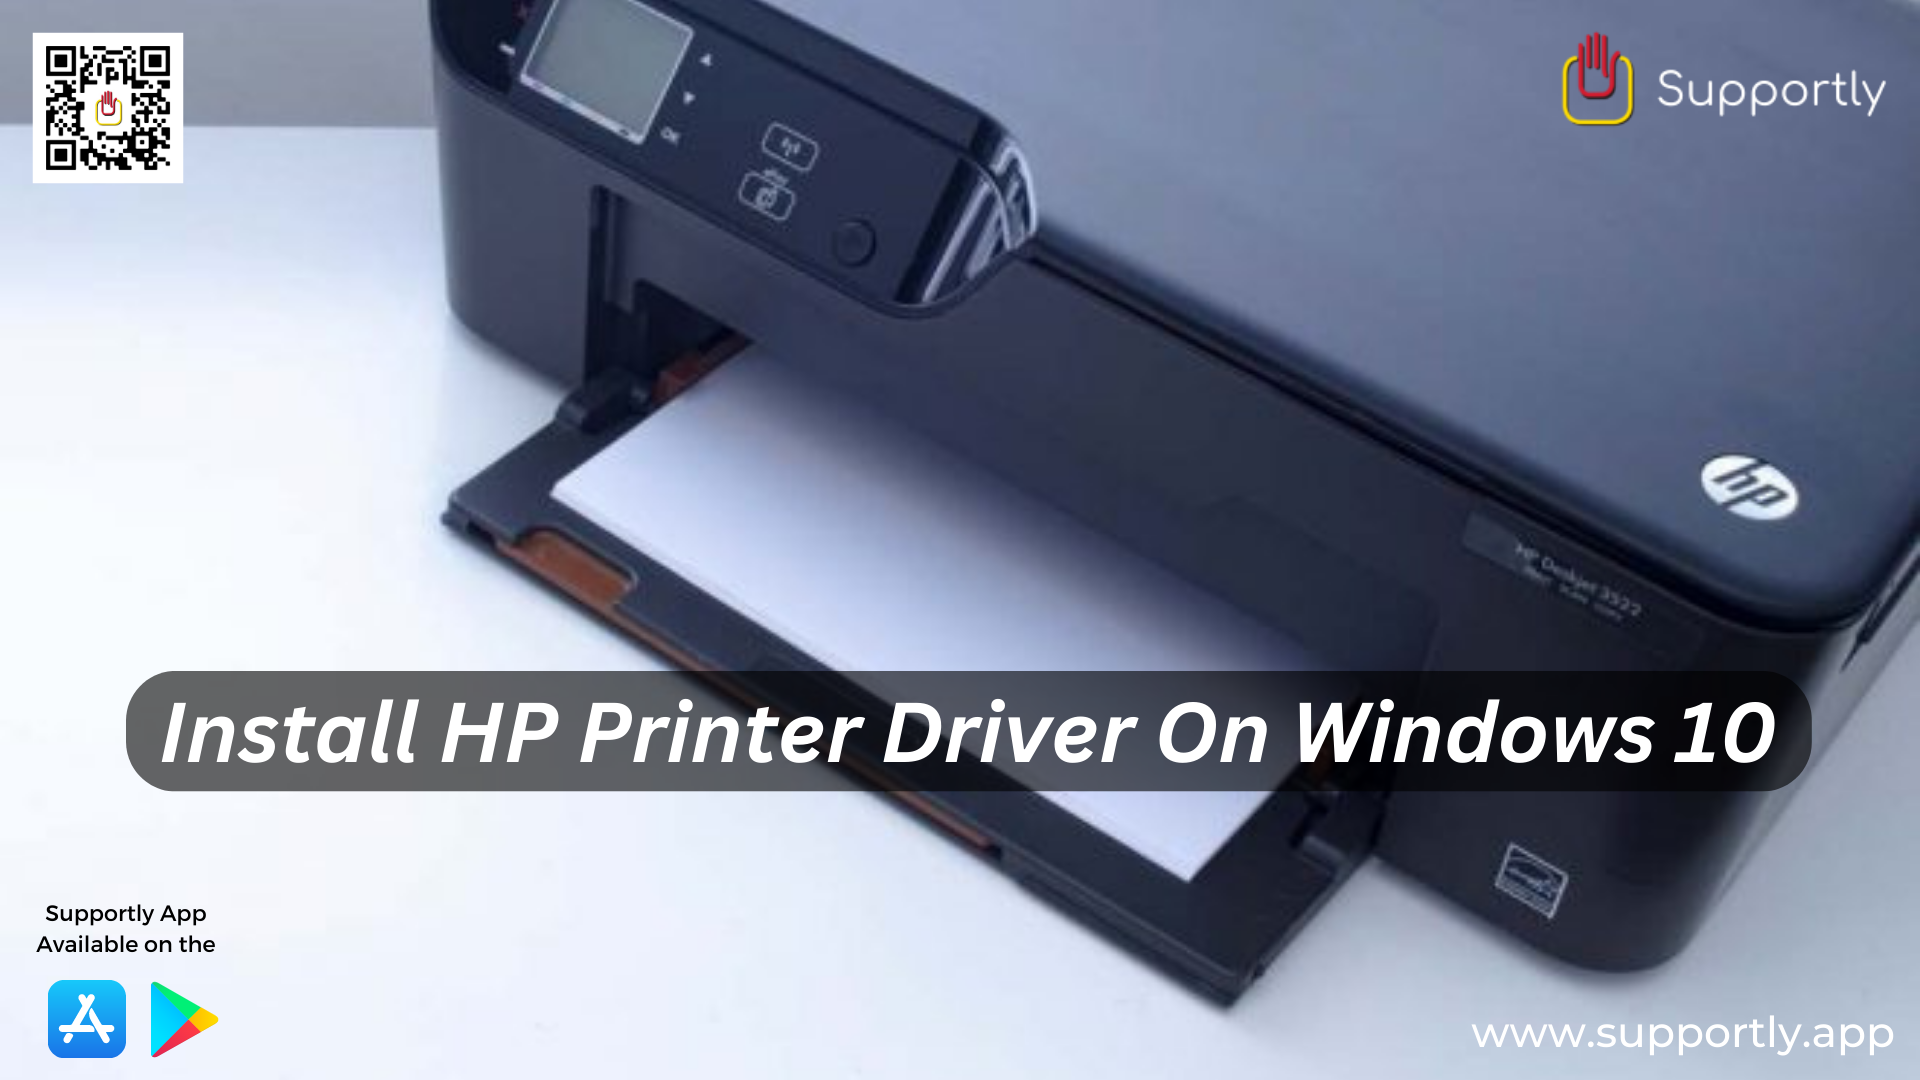
Nowadays, owning a printer is something many households and businesses do to get good quality prints of their work, photos and documents. Fortunately, there are different brands of printers available in the market nowadays. You can choose from the most popular name-brand models to ones from smaller brands, which may be more cost-effective. One of the most renowned brands in the printing industry is Hewlett-Packard (HP). HP printers are known for their quality and reliability, so they are a great choice for many people.
However, like any other printer, before you can use an HP printer you must install the correct driver on your device. To simplify this process for HP users on Windows 10 systems, here we will show you how to install a printer driver on your system.
The first thing you should do prior to installing your HP printer driver is to check if HP provides a driver that is compatible with the version of Windows 10 that is running on your computer. To do this, you need to go to the official HP website and enter the model of your printer. This website will then provide you with the driver specific to the model of your printer and a compatible version of Windows 10.
Once you have the appropriate driver in your hands, the next step is to begin the HP printer driver installation process. This is a simple process that you can accomplish by following the steps below:
That’s it! You have successfully installed the driver for your HP printer on your Windows 10 system. As now you have all the necessary information for this task, printing with your HP printer should be a breeze. If nothing works, you can contact a Supportly App professional technician to help you resolve the issue.
