

Forgot Windows Login Password? Here’s How to Reset It Easily

Mar 6
6
min read

Get Instant Solution to Install Device Drivers Manually on Windows 11
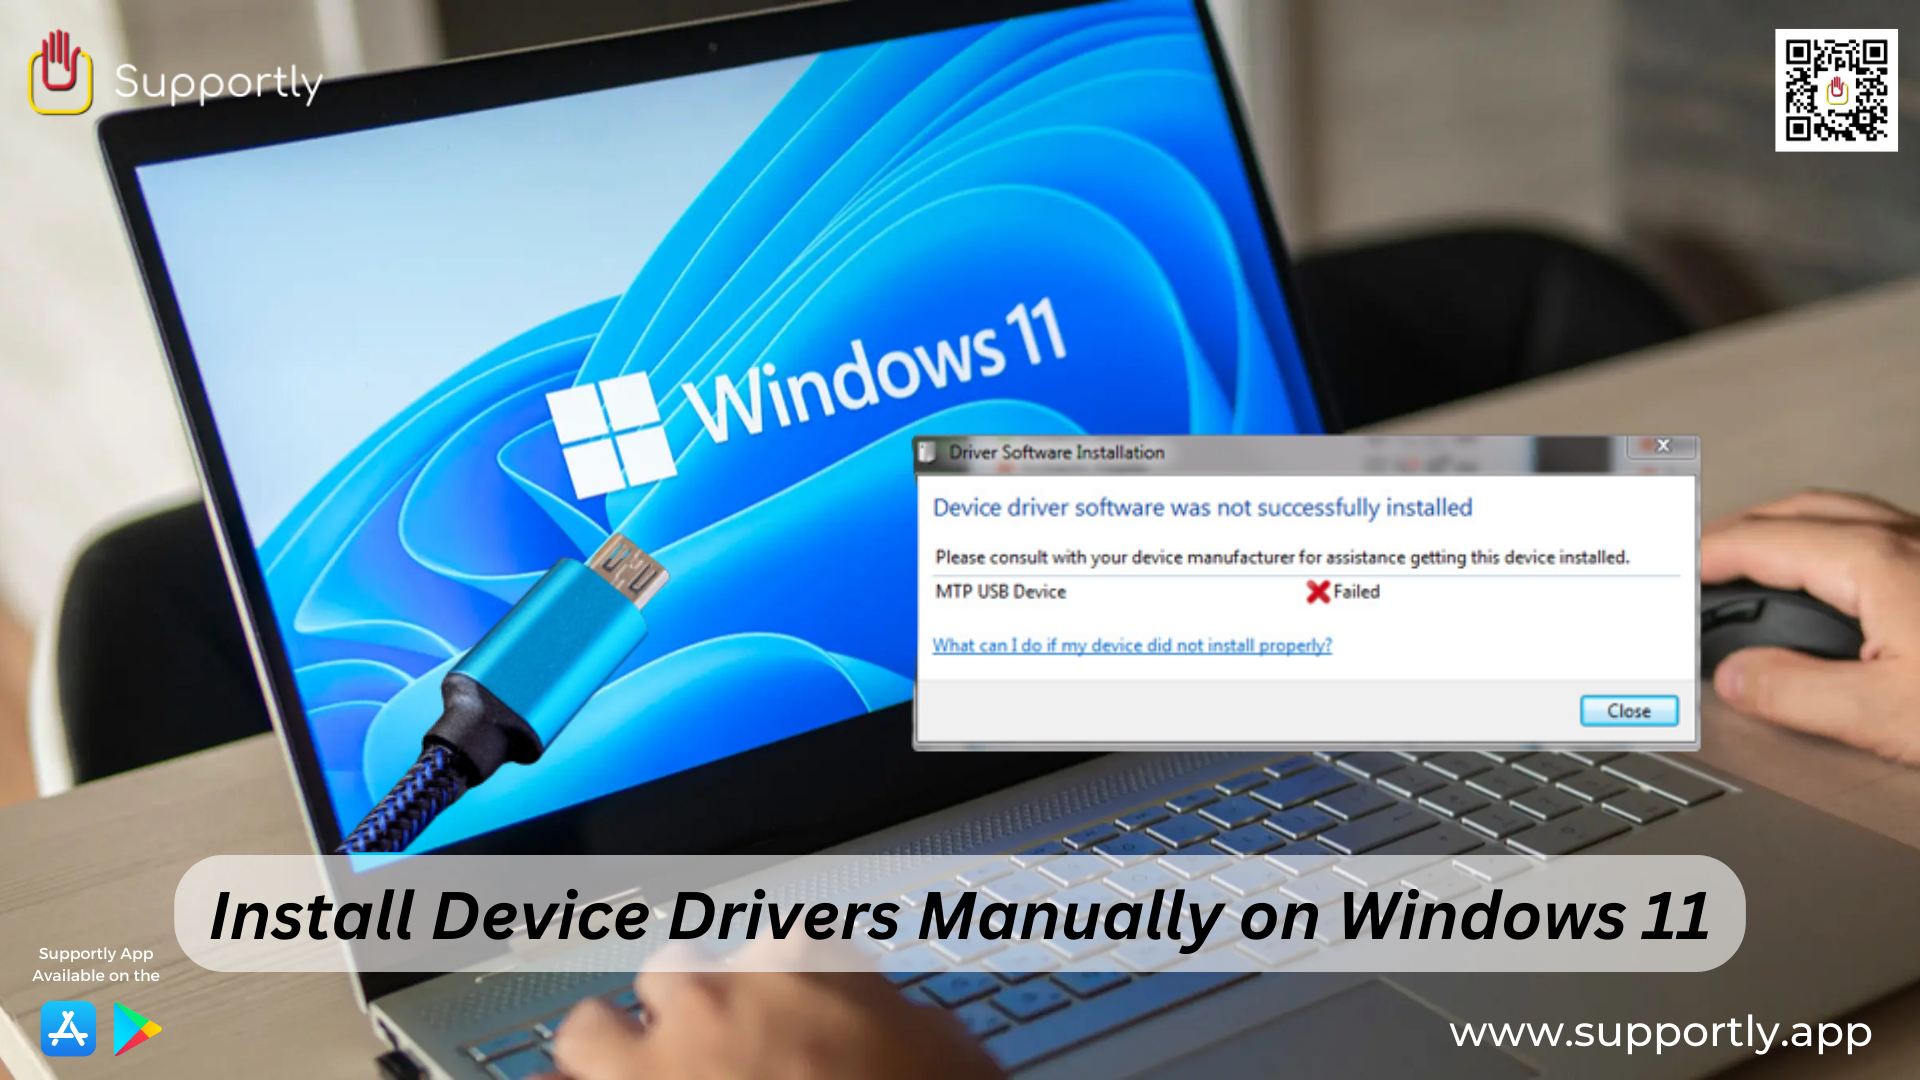
Device drivers are essential to the proper functioning of computers, as they enable software to manipulate hardware components and access them for various different purposes. Furthermore, users must have the most up-to-date device drivers installed in order to maximize their system’s performance and benefit from the various latest features that are offered.
In this article, we shall look at how to install the device drivers manually on Windows 11. Before proceeding with the installation, you should also be aware that there may be some compatibility issues between devices and operating systems which could lead to errors, slowness, and other problems.
Before getting started, make sure that the new device has the correct driver package installed on your computer. You can either download the driver package from the official website of the manufacturer, or performs a windows update. All in all, make sure that you have the correct version of the driver package before proceeding with the installation.
After obtaining the driver package, you should open the control panel and click on “Devices and Printers”. This will bring up a list of all the devices that are currently installed on your system. Using the list, you should choose the new device and press the “Update Driver” button. Doing this will bring up a new window where you should select the “Browse my computer for driver software” option.
Now, you should have the driver package stored somewhere on your system, so navigate to that location and choose the “Next” option. Windows will then search for the installed driver on that folder, and will display the “Install” button if the driver is found. Simply follow the instructions provided to complete the installation.
Finally, you can perform a Windows update to make sure that your computer has the latest version of all the installed device drivers. To do this, simply open the control panel and click on “Windows Update”. You should then follow the provided instructions to update all the installed drivers.
Following the steps given above, you can manually install device drivers on Windows 11 without any trouble. Always make sure to obtain the updated driver packages from the manufacturers’ official websites to benefit from various features. Additionally, always bear in mind that updating the device drivers should be an ongoing process to ensure that the system’s performance and features are always at its best. If the issue is still unresolved, it is best to contact Supportly App technical support for assistance. They can easily investigate the issue and provide further assistance.
