

Forgot Windows Login Password? Here’s How to Reset It Easily

Mar 6
6
min read

Virtual RAM (aka VRAM) is an important component of any modern Windows computer. It is why computers can run programs faster and why graphics are smoother and more realistic. Without enough VRAM, your computer's performance will suffer.
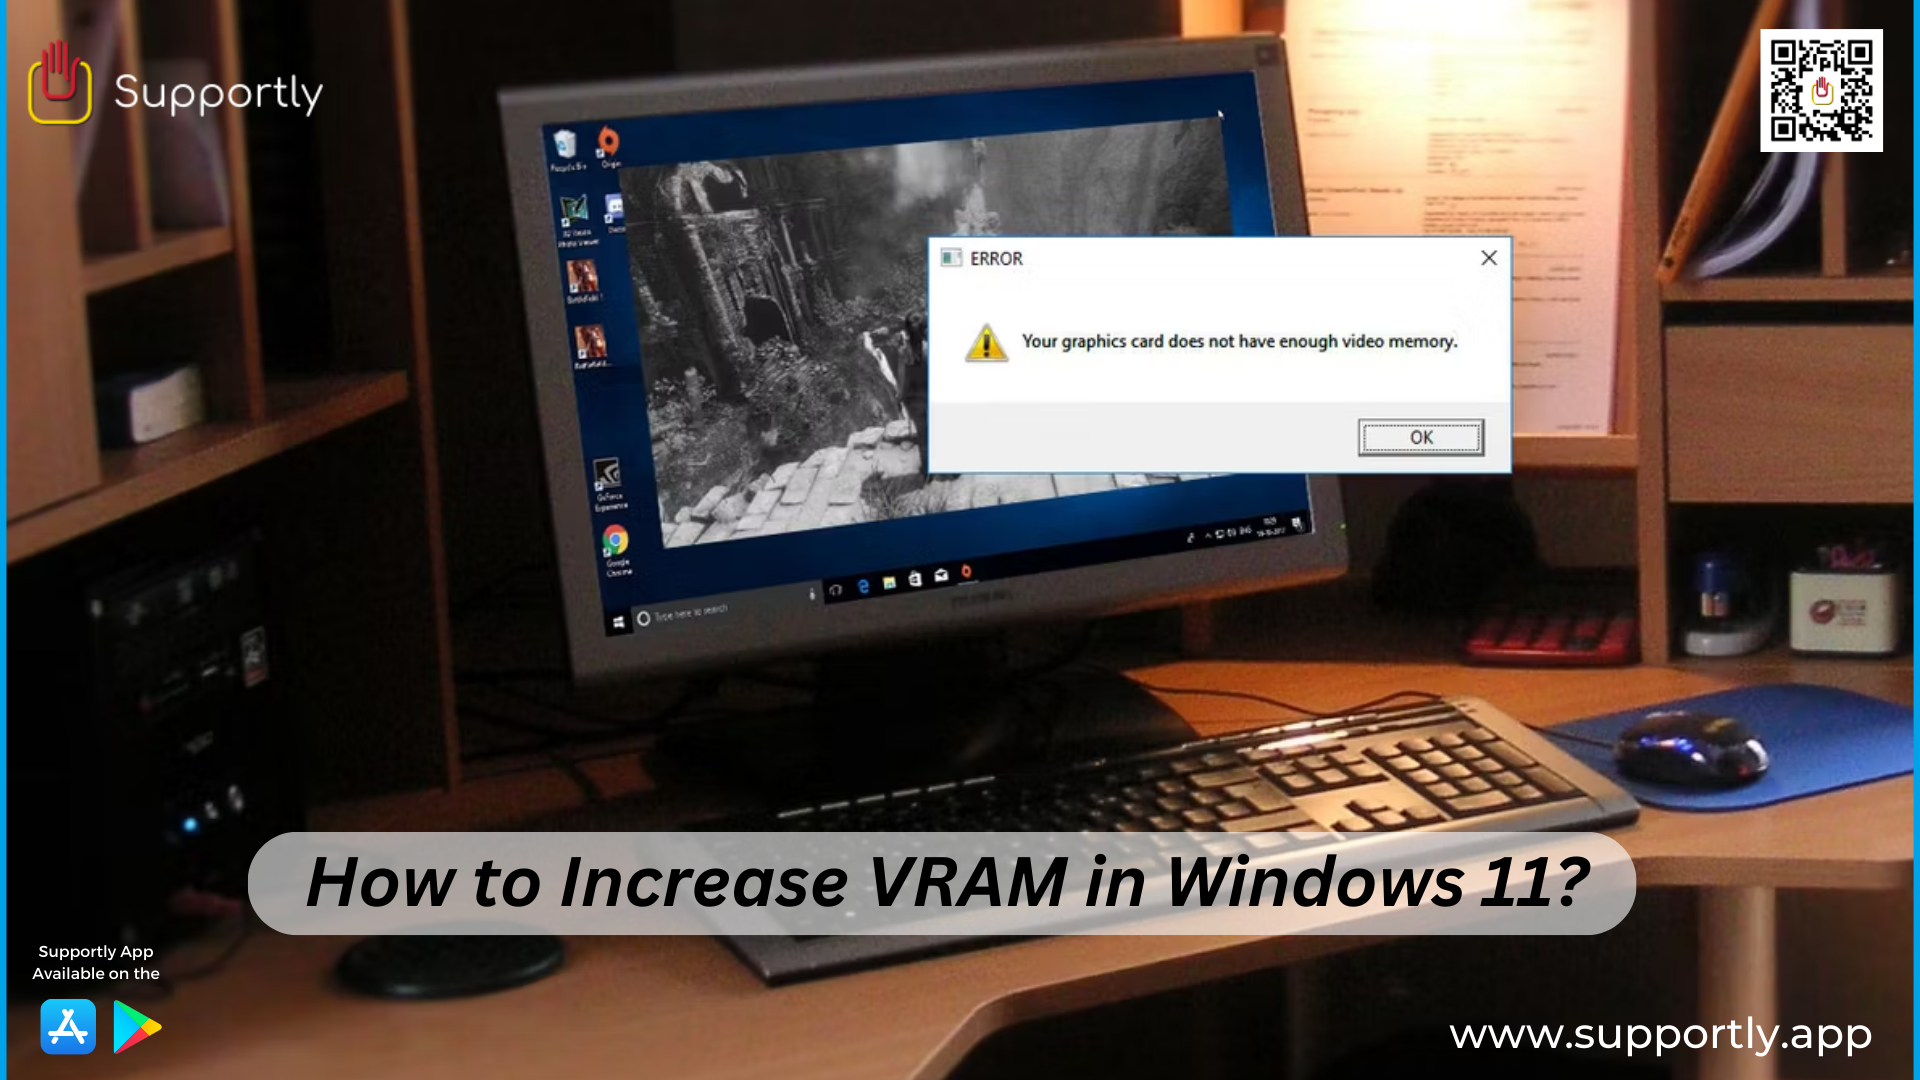
Windows 11, the latest and most advanced version of Microsoft's operating system, also utilizes Virtual RAM, and it needs a decent-sized chunk of it to perform at its best. Fortunately, there are plenty of ways to increase the amount of VRAM available to your system. Here's how to increase VRAM in Windows 11.
Your computer's performance depends on not just the hardware, but also the software and drivers that control them. Windows 11 includes improved driver management, which can greatly increase the amount of VRAM available to your system. To make sure your drivers are up to date, head over to the Device Manager in Control Panel and check the list of drivers. If you notice one that is out of date, then consider updating it.
Increasing the amount of physical RAM in your system is one of the most efficient ways to increase the virtual RAM available to your system. Nowadays, it is becoming more common for computers to come with 8GB or 16GB of RAM. If you are undecided, then 8GB of RAM is a good starting point.
Windows 11's Paging File setting is a clever way to increase VRAM. A paging file acts as an extension of the main RAM and is used to store data when the RAM is full. It is a very effective way of increasing the amount of virtual RAM available to your system. To adjust the paging file settings, open the Run feature (Windows key + R) and type in “advanced system settings” then open the Advanced tab and hit Settings to view the Virtual Memory option. You will then be allowed to adjust the size of the paging file.
Windows 11 has another built-in utility called High-Performance Mode. This mode boosts the performance of your system by allocating more resources to RAM-intensive tasks. To enable this mode, open the Control Panel, then click on Power Options to access the High-Performance Mode.
Opening too many programs at once can be a burden on the VRAM. That is why it's important to keep an eye out for programs that are running in the background and are needlessly taking up resources. To do this, open the Task Manager (Ctrl + Shift + Esc) and check out the Processes tab to see the programs that are running. If you spot programs that are not actively being used, then right-click on them and choose “End process” to close them.
You might find some apps or programs on your computer that are taking up resources, but not actively being used. To free up VRAM, you can disable them. To do this, go to Control Panel then click on Uninstall a program. From there, you will be able to view all the programs and apps that are installed on your computer. If you find any programs or apps that you no longer need, then select them and click on Uninstall to get rid of them.
There are plenty of apps and programs available that are designed to work with minimal amounts of RAM. To find apps that are RAM-friendly, try searching for terms such as “RAM-friendly app” or “low-RAM app” in your favorite search engine.
In conclusion, increasing VRAM in Windows 11 is relatively straightforward, but there are a few different ways to do it. Some of the steps we have outlined involve a bit of technical tinkering, so you might want to get help from an expert if you're not sure what to do. However, following these steps should help you boost the performance of your system. If you need more support then connect with our Supportly App.
