

Forgot Windows Login Password? Here’s How to Reset It Easily

Mar 6
6
min read

Get Instant Solution to connect an Epson Printer to a Smartphone
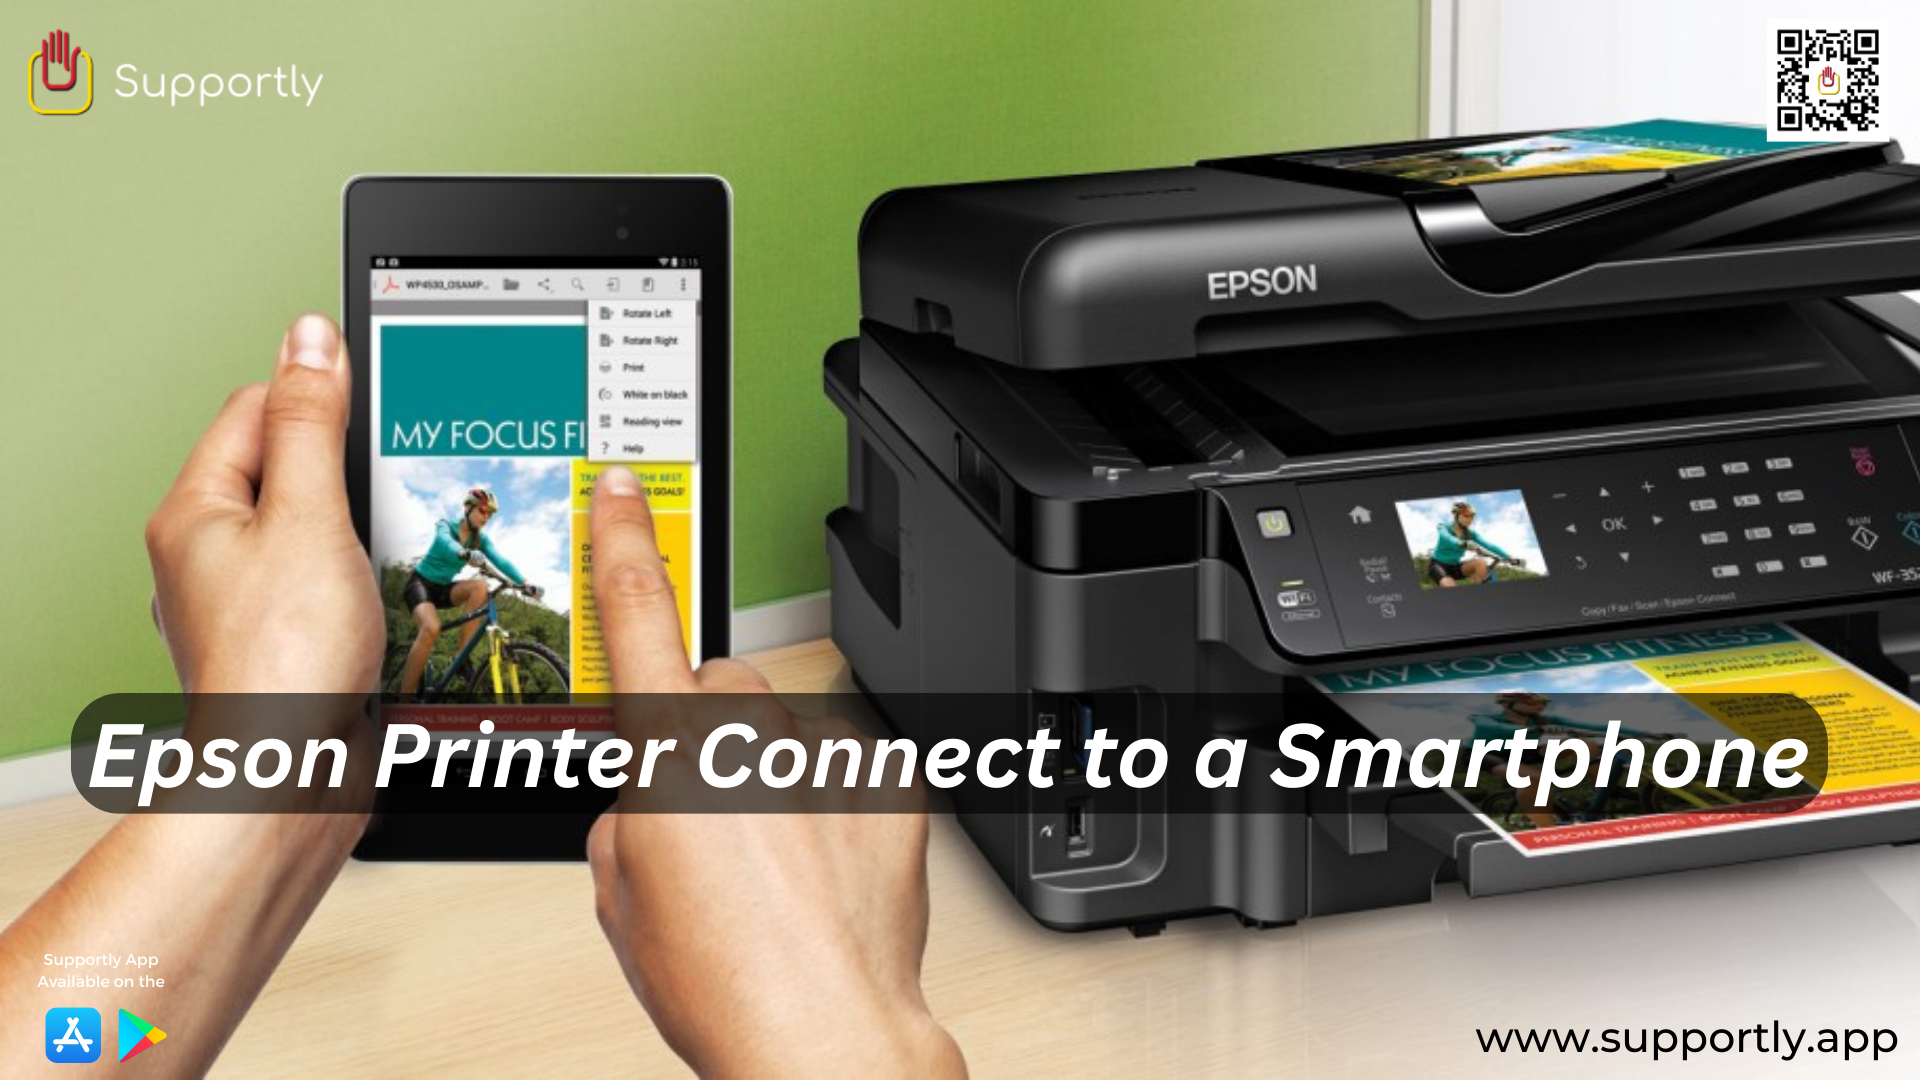
The ability to connect an Epson printer to a smartphone has made life much easier for many. With the right setup and the right apps, you can print documents from the comfort of your own smartphone. In order to do this, you will need to have an Epson printer that is compatible with the model of your smartphone. This article will demonstrate how to successfully connect an Epson printer to your smartphone.
To start, you will need to install the Epson iPrint app for your printer model, which is available on the Google Play or Apple App Store. Once installed, open the app on your smartphone and it should prompt you to search for any compatible Epson devices. Select your Epson printer to start the connection.
Next, you will want to check the connection status of your printer. Most Epson printers come with a status window on the front of the device, however it can also be checked through the app. Take a look at the status or check the detailed report on the app. If all looks good, then you can proceed with the connection process.
You will need to start the Wi-Fi setup on your printer. The exact process will vary depending on your printer model, however the process is generally the same. Start by selecting the Wi-Fi setup option on the printer. A window will pop up and you will need to enter your Wi-FI network name and password. The printer will then scan for available networks.
After the scan is complete, select your network from the list and press the OK button on the printer. Your printer will then attempt to connect to the network. If all goes well, the Wi-Fi light will turn green and you should see a message stating that it was successful.
Finally, you will need to complete the connection process on your phone. Open the Epson iPrint app and then select the “Printers” menu option. Your printer should be visible on the list of available devices. Select the printer and then press the “Connect” button.
You have now successfully connected your Epson printer to your mobile device. You can now print documents directly from your phone or from apps such as Word or Google Docs.
It is important to note that connecting to an Epson printer from a mobile device requires the use of a stable Wi-Fi connection. If you are having trouble connecting, make sure that your router is in an optimal location and check the Wi-Fi connection status on your router.
By following the steps outlined here, you can easily connect an Epson printer to your smartphone. With the right setup and the right apps, you can get the most out of your Epson printer and maximize its compatibility with your mobile devices. If you need more assistance then connect with our Supportly App professional technicians.
