

Forgot Windows Login Password? Here’s How to Reset It Easily

Mar 6
6
min read

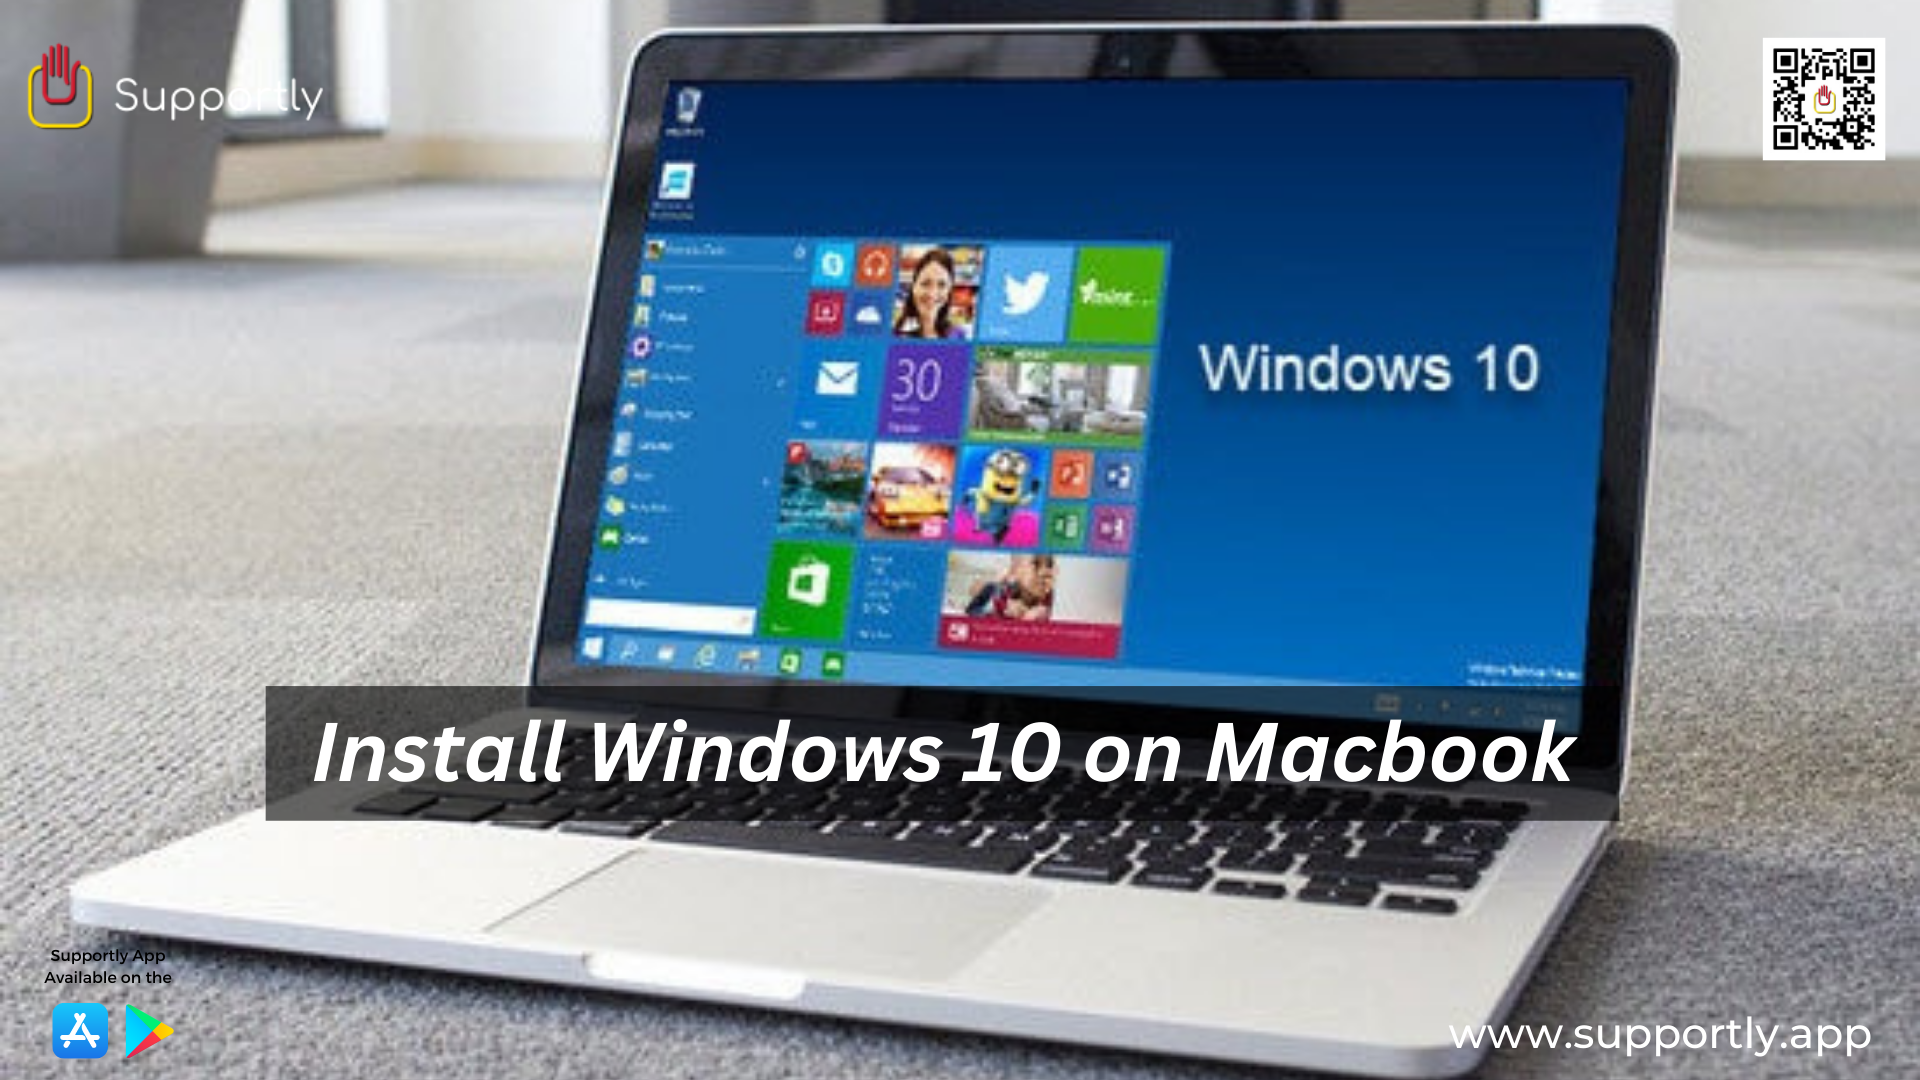
Are you looking to install Windows 10 on your MacBook? Installing Windows 10 on a MacBook can be a great way to get the best of both worlds – the power and features of Windows with the portability of a Mac. Whether you want to use Windows 10 for gaming, design, or everyday use, installing it on your Macbook can be relatively easy.
This guide covers the methods for installing Windows 10 on your Macbook. Before you start, make sure you have a pen drive, an external hard drive, and a Windows 10 license to get started.
Step 1: Create a Bootable Windows 10 Pen Drive
The first step is to create a bootable Windows 10 pen drive. To do this, you will need a pen drive with at least 4GB of storage and a Windows 10 ISO file. Once you have both, connect the pen drive to your Macbook and launch Disk Utility.
In the sidebar, select the pen drive, then select the “Erase” tab. Choose “MS-DOS (FAT)” as the format, and then click “Erase”.
Once the format is complete, open the pen drive folder, and open the Windows 10 ISO file. Select all the files and drag them into the pen drive folder.
At this point, the pen drive is now ready to be used to boot Windows 10.
Step 2: Install Windows 10 on Macbook
To install Windows 10 on your Macbook, start by restarting your computer and holding down the “Option” key while it boots. This will bring up a boot menu, where you should select the pen drive you just created.
Your Macbook will now boot into the Windows 10 setup wizard. Follow the instructions to install Windows 10 onto your Macbook. You may need to enter a serial key or purchase a license.
Once the installation is complete, your Macbook will need to be restarted, and your Macbook will now boot into Windows 10.
Step 3: Install Boot Camp Drivers
The next step is to install the Boot Camp drivers which allow your Macbook to work with Windows 10. To do this, connect your Macbook to the internet, and then open the Boot Camp Assistant (located in the Applications folder).
Follow the instructions to install the Boot Camp drivers. Once you’re done, your Macbook is now ready to be used as a Windows 10 device.
Step 4: Divide the Hard Disk
The last step is to divide the hard disk so that you can easily switch between MacOS and Windows 10. To do this, open Disk Utility again, and select the hard disk from the sidebar. Now select the “Partition” tab, and choose the “Mac OS Extended (Journaled)” format.
Next, select the “Windows” partition and choose the “FAT32” format. Click “Apply” and your disk will be divided. You can now use your Macbook as a dual-boot device, where you can switch between MacOS and Windows 10.
Congratulations, you have successfully installed Windows 10 on your Macbook. You should now be able to run any Windows program from your Macbook, including games, design, and office software.
If you ever want to switch back to MacOS, you can simply reboot your Macbook and hold down the “Option” key while it boots. This will bring up the boot menu, where you can choose the MacOS partition.
Now that you have successfully installed Windows 10 on your Macbook, you can explore the power and features of Windows 10 on your Mac. Connect with the Supportly App if you require additional support.
