

Forgot Windows Login Password? Here’s How to Reset It Easily

Mar 6
6
min read

Get Solution to Find and Update TP Link Routers IP Address
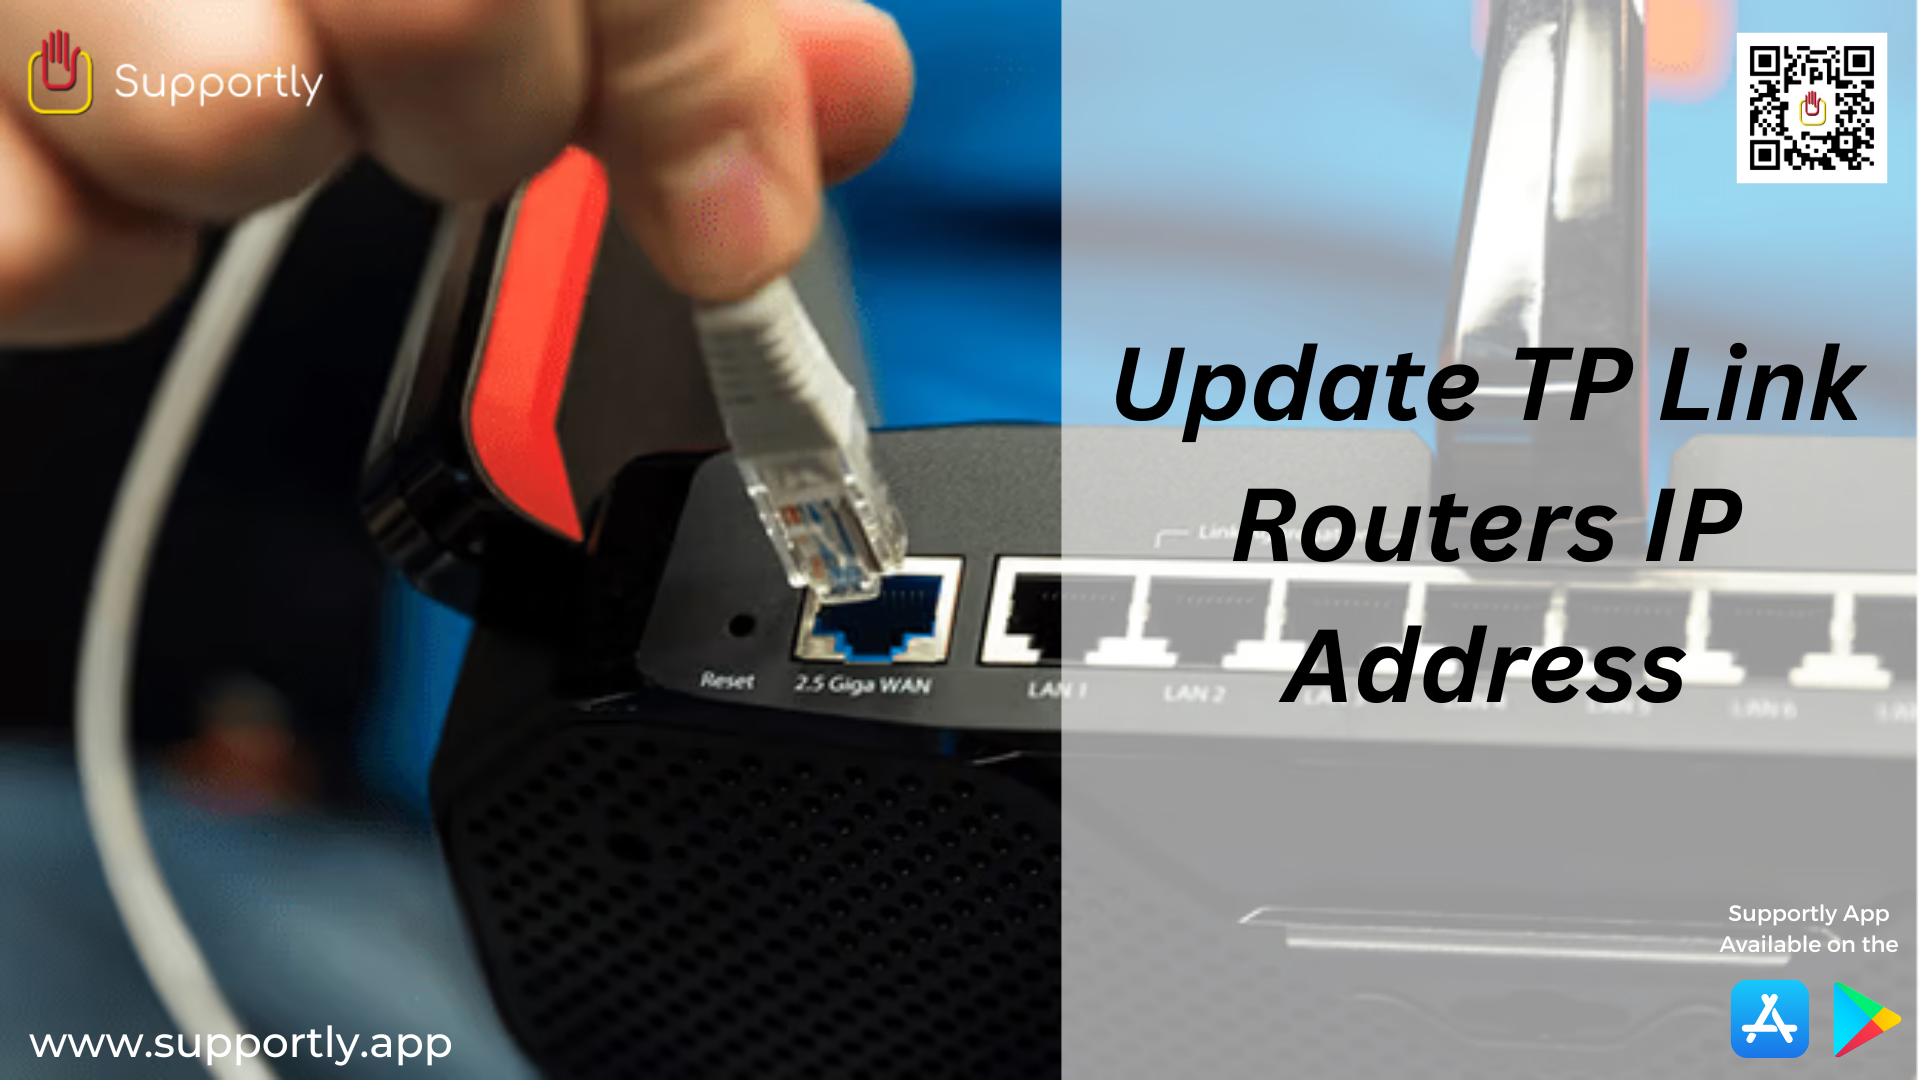
TP-Link routers are one of the most widely used routers in the world. They are reliable, easy to configure, and have great features. However, if you have multiple devices connected to the same network, you may need to update the router’s IP address to ensure that the various devices can communicate with each other. This article will explain how to find and update TP-Link routers IP address.
The first step in finding your TP-Link router’s IP address is to log into the router’s web interface. This can be done by opening a web browser and entering the router’s IP address into the address bar. If you do not know the router’s IP address, you can find it by connecting the router to your computer with an Ethernet cable and running the command “ipconfig” in the command prompt window. The IP address will be displayed in the results.
Once you have logged into the router’s web interface, you will need to navigate to the Network settings page. This page will contain the router’s IP address as well as other settings. You can change the IP address here by entering a new one into the IP address box.
Once you have entered the new IP address, you will need to click the “Save” button to save the changes. You will then need to restart the router by unplugging it from the power outlet and waiting a few seconds before plugging it back in. After the router has restarted, the new IP address will take effect.
It is important to note that when you change the IP address of your router, you may also need to update any devices that are connected to the router. This includes computers, tablets, smartphones, printers, and other devices. To do this, you will need to open the network settings on each device and manually enter the new IP address.
In addition to changing the IP address, you may also need to update the router’s firmware. This is important because firmware updates often contain bug fixes, security patches, and other improvements that can help keep your router running smoothly. To update the router’s firmware, you will need to navigate to the router’s web interface and look for the firmware update page.
Once you have updated the router’s IP address and firmware, you can test the connection by running the command “ping” in the command prompt window. If the ping is successful, the connection is working properly. If not, you may need to troubleshoot the connection or contact your internet service provider for assistance.
To sum up, updating the IP address of a TP-Link router is a simple process. All you need to do is log into the router’s web interface, navigate to the Network settings page, enter a new IP address, save the changes, and restart the router. You may also need to update any connected devices and the router’s firmware to ensure a stable connection. Once the changes are made, you can test the connection by running the “ping” command. If you need further assistance, connect with the Supportly App.
