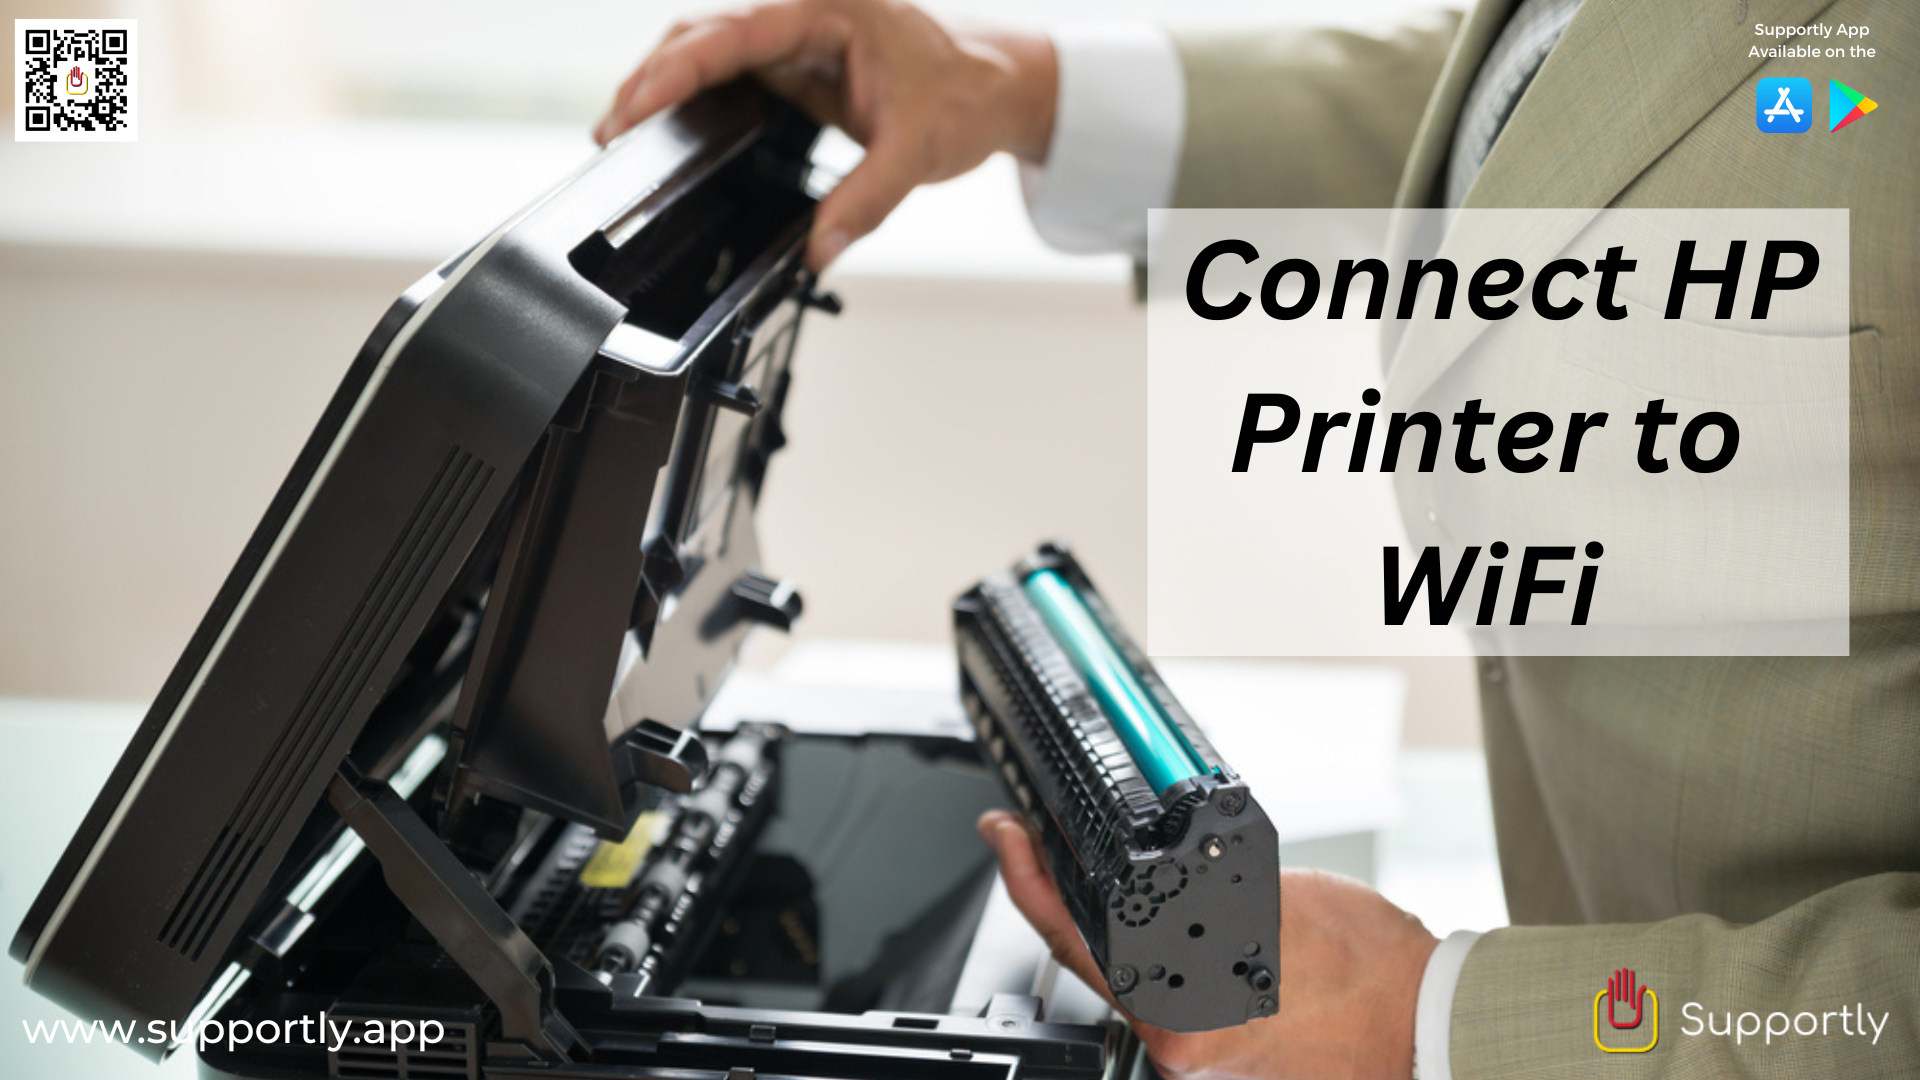
Connect HP Printer to WiFi - Setup HP Printer Wireless
Connecting an HP Printer to a Wireless Network
Setting up an HP printer on a wireless network is a fairly straightforward process. It can be completed in a few simple steps, using the printer’s menus or HP’s software. Here’s a guide on how to get your HP printer connected to your wireless network.
Step to Connect HP Printer to WiFi
- Make sure your printer is powered on and connected to the same wireless network as your computer.
- On your computer, open the HP Printer Assistant software.
- Click the Wireless icon in the left navigation pane.
- Select the network name that matches the one your computer is connected to.
- Enter the network password if prompted.
- Click Connect.
- The printer will now be connected to your Wi-Fi network.
Preparing Your HP Printer:
Before you attempt to connect your printer to your wireless network, make sure that you have fulfilled the following requirements:
- Your computer must be connected to the same network as the printer.
- Your printer must be powered on.
- Your printer must have an active connection to the internet.
- You should have the printer’s manufacturer and model number handy.
- You should have the printer’s serial number handy.
- You should have the printer’s power cord and USB cable handy.
- If your printer is capable of connecting to a Wi-Fi network, you should have the printer’s Wi-Fi password handy.
- You should have the printer’s setup instructions handy.
- You should have the printer’s software and/or driver installed on your computer.
Connecting Your HP Printer:
Once you have fulfilled the above requirements, you can begin the process of connecting your printer to your wireless network. Here’s how to do it:
- Plug your printer into an electrical outlet.
- If your printer is capable of connecting to a Wi-Fi network, turn on the Wi-Fi feature.
- Find the Wireless Setup Wizard in your printer’s menu or on the printer’s LCD screen.
- Follow the on-screen instructions to select your wireless network’s SSID (Service Set Identifier) and enter your wireless network’s password.
- Once your printer is connected to your wireless network, it will be assigned an IP address.
- If you are having trouble connecting your printer to your wireless network, you can use HP’s software to connect the printer. Simply download and install the HP Printer software. Once the software is installed, follow the on-screen instructions to connect the printer to your wireless network.
- If you are still having trouble connecting your printer to your wireless network, contact HP’s customer support.
Using Your HP Printer:
Once your printer is connected to your wireless network, you can begin using it. Here’s how to do it:
- If you are using a Windows computer, open the Printers & Scanners window.
- If you are using a Mac computer, open the System Preferences window.
- Select the printer from the list of available printers.
- If the printer is not listed, try using the Add Printer option.
- If you are using a Windows computer, select the “Add a Printer” option.
- If you are using a Mac computer, select the “Add Printer or Scanner” option.
- Follow the on-screen instructions to complete the setup process.
- Once the setup process is complete, you can begin using the printer.
Step to Setup HP Printer Wireless Connection
- Install the printer on your computer: Install the HP Printer driver on your computer.
- Connect the printer to the wireless network: Connect the printer to the wireless network by following the instructions provided in the printer manual.
- Download and install the HP printer software: Download and install the HP printer software on your computer.
- Configure the wireless settings: Configure the wireless settings on the printer by following the instructions provided in the printer manual.
- Connect the printer to the computer: Connect the printer to the computer using the USB cable.
- Print a test page: Print a test page from the printer to ensure that the printer is connected and working properly.
Conclusion:
Connecting an HP printer to your wireless network is a fairly straightforward process. All you need to do is ensure that you have the necessary requirements, follow the on-screen instructions, and use the appropriate software. Once your printer is connected to your wireless network, you can begin using it. If you need more assistance then connect with Supportly App.